How to setup and install Multi Factor Authentication (MFA)
MFA adds additional login information to access your account. This protects your account against people stealing your username and password. This is now standard practice with all Major banks and is becoming more common in online applications.
We are using the Microsoft authenticator system to protect your email accounts. Once you have this setup and installed you will then be able to use it for other websites if they offer the facility. This improves your security using a technology you are comfortable with.
Normally it is used with a Smart Phone and an application, however if you do not have a smart phone, it can also work with a traditional mobile or Landline.
So whats the point. If your email address and password are compromised, people can then access your email and all your Onedrive files and Sharepoint files, they can pretend to be you and use your account for malicious purposes. Think of the MFA as a 2nd password. So even if they steal your username and password, they don't know the 2nd password. This is generated uniquely for each login in real time by the system.
We would advise that you do not use the same email address and password combination on multiple sites. Please use variations of passwords to protect your accounts further.
Step 1
Step 2
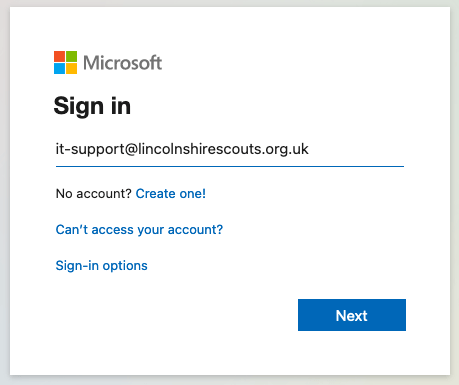
Sign in to the online Microsoft Portal.
https://portal.microsoft.com
Enter your password as usual
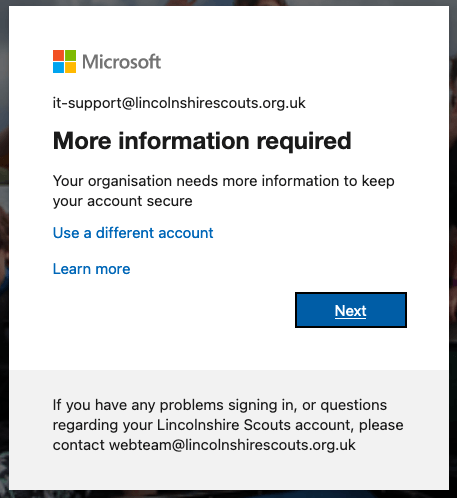
You will then get a new message, that says we require more information.
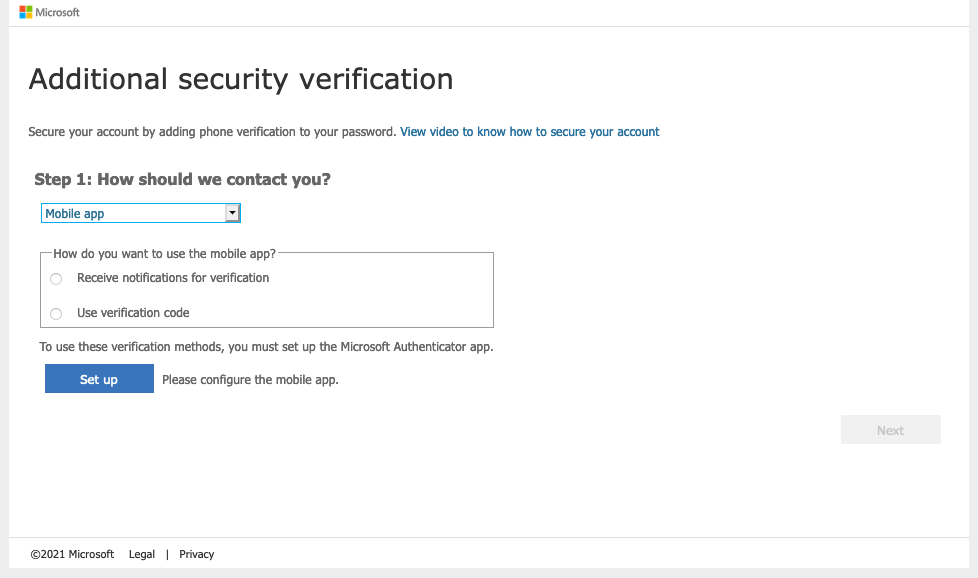
You will then be presented with a choice, of how you want to be contacted. The simplest is Mobile App, however there are two more choices. Office Phone, where it will ring you and talk to you
There are two options you can choose from. If you choose "Receive notifications for verification" This will popup a Approve / Decline option on your phone automatically. If you choose "Choose Verification Code" You have to go into the app and select the login i.e. Lincolnshire Scouts and it will give you a six digit code to type in. (You can change your options at any time)
Press
SET UP
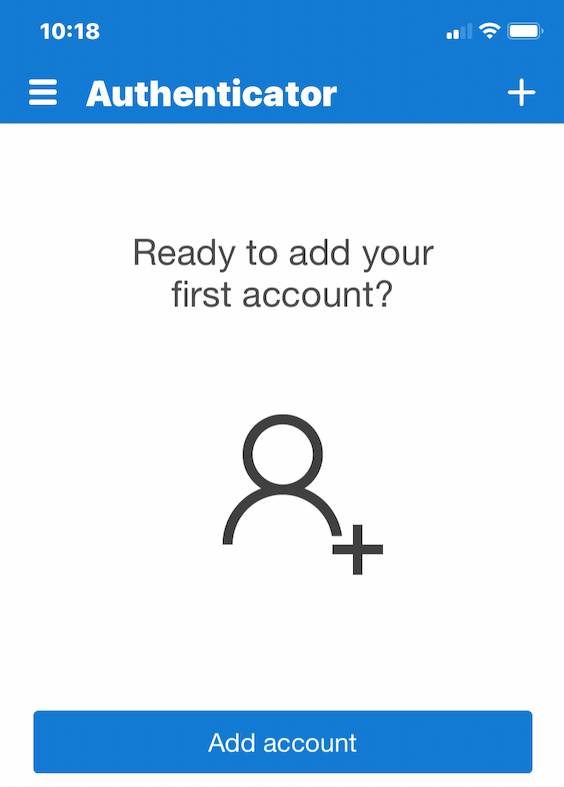
Now on your mobile phone press the "Add Account" option.
It will then ask you what sort of account you want to add. Choose "Work or school account"
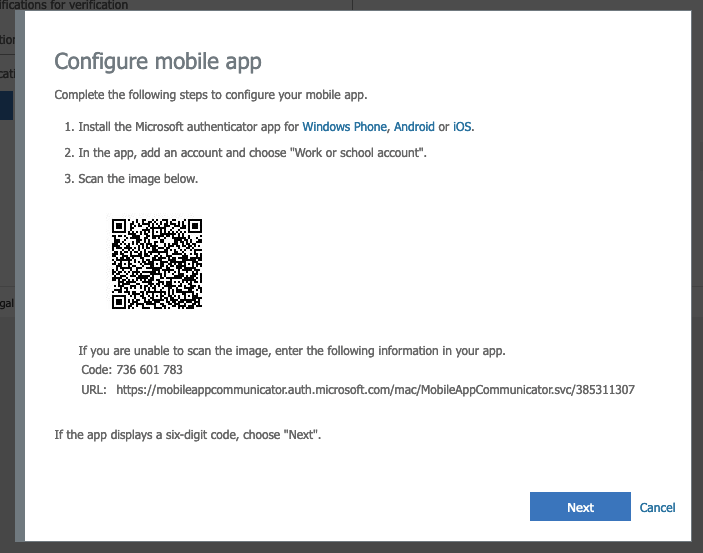
It will then offer "Sign In" or "Scan QR Code"
Choose, "Scan QR Code"
Scan the code with your phone.
Press NEXT
The system will then check that it can access your device and will continue if successful onto the next screen.
If you have problems with the mobile app, you can have a backup phone number this can be a mobile or a landline.
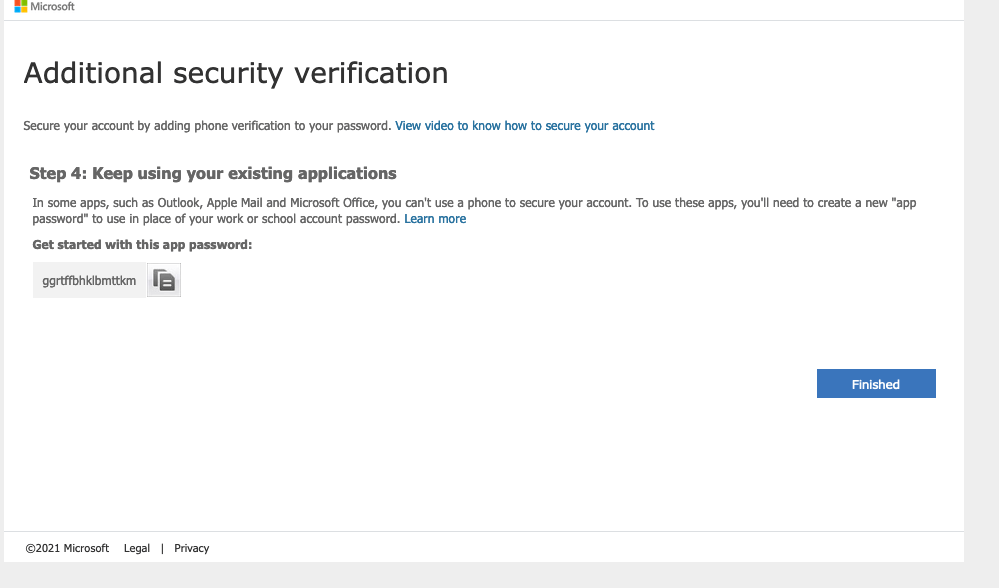
You will finally be presented with the completion screen. Please ignore the Get Started with this app password. (Not required for Mobile)
When you login to the Web System, you will see this message. It is acceptable and encouraged that you click YES on your own personal machine, however this must not be selected on a public or shared machine. If you want to use multiple accounts on the same machine, i.e. work and Scouts, you should press NO. Your experience will be better.
If you have any problems setting up your account. Please raise a ticket on the service desk and someone will contact you.
You can use a personal email address to signup for your help account.
Note:
If you are using Windows 8 - 10 and Outlook Client. You may need to fix the registry to make it work. Please follow the instructions below. If you are not happy doing this, please raise a help desk ticket and we will schedule someone to connect to your machine and do it for you.
- Exit Outlook.
- Start Registry Editor by using one of the following procedures, as appropriate for your version of Windows:
- Windows 10, Windows 8.1, and Windows 8: Press Windows Key + R to open a Run dialog box. Type regedit.exe, and then press Enter.
- Windows 7: Click Start, type regedit.exe in the search box, and then press Enter.
- In Registry Editor, locate and click the following registry subkey:
- Console
- Copy
-
HKEY_CURRENT_USER\Software\Microsoft\Exchange
- On the Edit menu, point to New, and then click DWORD Value.
- Type AlwaysUseMSOAuthForAutoDiscover, and then press Enter.
- Right-click AlwaysUseMSOAuthForAutoDiscover, and then click Modify.
- In the Value data box, type 1, and then click OK.
- Exit Registry Editor.